Configure Originator with the Softswitch
Now we shall add originator.
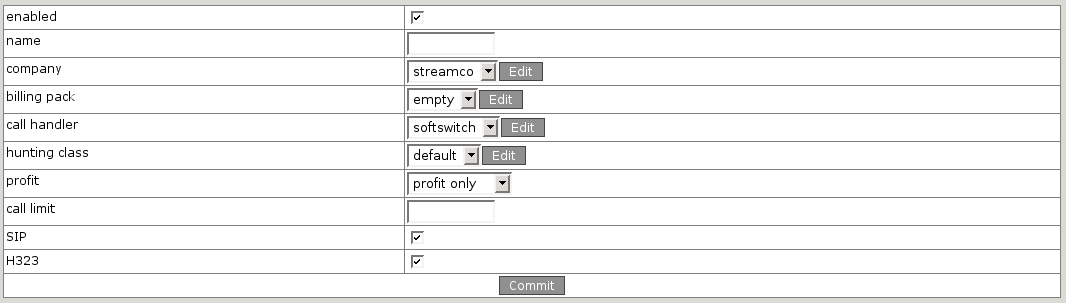
Go to Home >> Dial-peers >> Originators. Here you can see the
list of originators just like this:

If yours is empty, don't worry - now we'll start filling it.
Press "Add" now. You'll see the following screen:
- Give name to originator, for example, "small_customer_gw1".
- Select originator's company (SmallCustomer) from combo-box.
- Select originator's billing pack (small_customer1_pack) from combo-box.
- Select "default" hunting class. This is the predefined hunting class that uses all hunting strategies in iterative manner to build the routing table.
- Select "softswitch" call handler.
- As far as our originator supports SIP only, uncheck the H323 checkbox.
- Press "Commit".
Now you will see originator in a list.
Now you must complete originator's configuration.
Press "Edit" near originator in a list. You'll see a screen like
this:
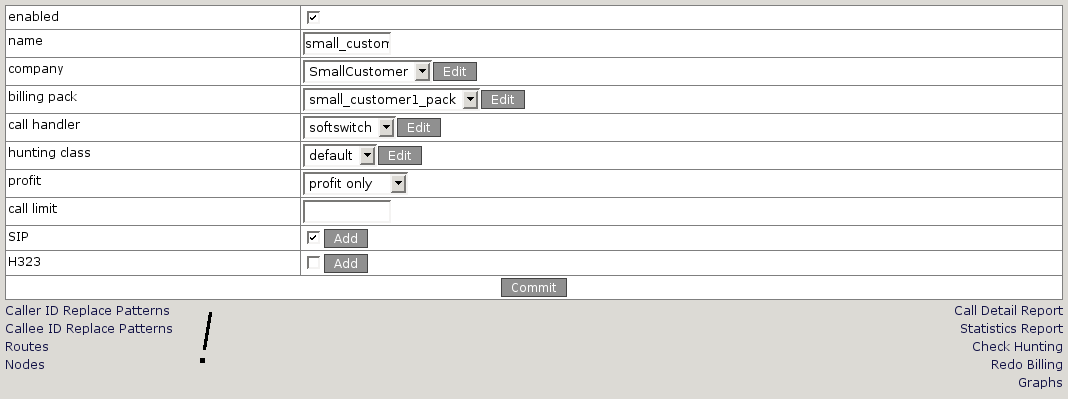
Look at the links at the bottom. They will help us to finalize
the configuration.
As our customer uses SIP, press "Add" in the SIP row. You'll see
a screen like this:
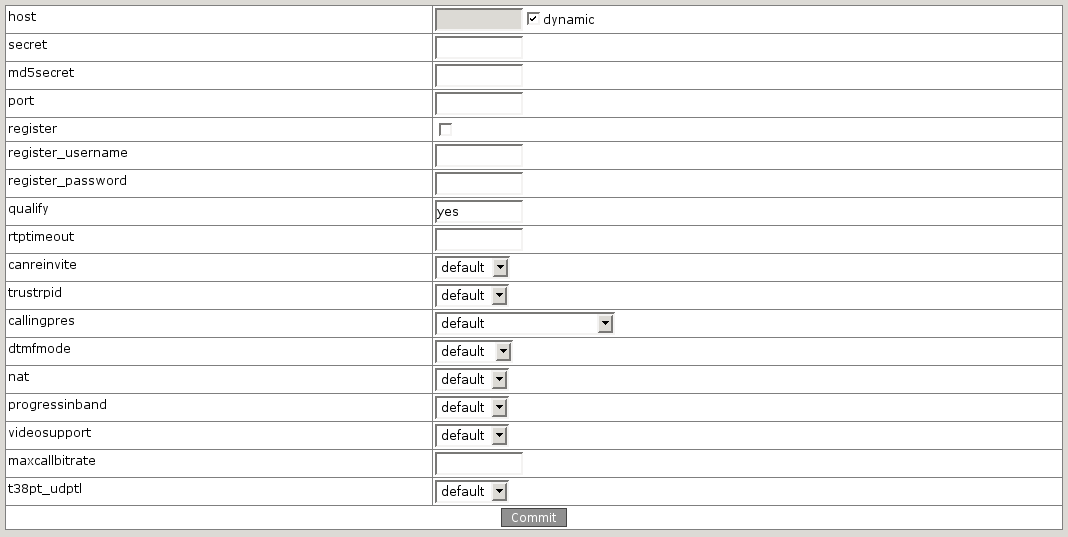
Uncheck here "dynamic" and fill "host" to "X.X.X.X" and press "Commit".
We're almost done. Now we need to set up a route between
originator and terminator. Return to editing mode of originator
and follow the link "Routes". You will see empty route set. This means that currently there are no routes configured. Press "Add" and look at:

Select type "terminator" in the corresponding combo-box. In combo-box "name" select our provider "great_provider_gw1" and press "Commit".
Now configure nodes, on which this peer must live in RAM configuration, just same as we
did for terminator.
Congratulations! That's all! Configuration part is over.